

Let’s face an uncomfortable reality: web2 password requirements are getting ridiculous. There’s a reason millions of us use solutions like LastPass, 1Password, or Google password manager to keep things straight — even though they’re primary hacking targets. Web3 solves the password problem through the web3 login. So how does it work and how do you build it? Let’s start by answering a key question first.
What is a web3 login?

A web3 login is the answer to web2 user experience and security issues. Instead of relying on emails, usernames, and passwords, web3 logins use crypto wallet verification to make sure you are exactly who you say you are. Unlike web2 login details — which are frequently bundled together and stored on public servers — web3 logins use a private key that’s stored locally. This makes them a harder target for hackers.
That’s not all though: web2 has been trying to crack passwordless access through single sign-on, MFA, and external solutions like yubikey. But because web3 login uses wallet authentication, it’s naturally passwordless.
Why do you need a web3 login?
If you want to play within the blockchain and meta playgrounds, you need to use a web3 login to secure your dApp. A web3 login helps:
- Web3 businesses protect sensitive information and secure key assets like IP, customer data, and community information behind a strong castle wall so it’s only accessible to those with the right tokens.
- DAOs secure community conversations, voting systems, debates, and privileged member information behind a token-gated wall that only lets the right people in.
- NFT communities keep trolls out, protect member privacy, and share perk information with members who’ve earned the right to be there.
How does login work for web3?
Web3 login doesn’t mess around with passwords. Instead, it lets you authenticate your identity by connecting your crypto wallet.
Here’s how it works: on the login screen you’ll be asked to select your wallet. After you hit connect, you’ll see a message and you’ll be prompted to sign. Signing will use your private key to create a signature using the message. This signature will then be sent to the app’s backend, the backend will check the signature against the stored message to recover the original wallet address. If the recovered address matches the passed-in address, the system will authenticate you.
So what happens after you’ve been authenticated? Now you’re in, it’s time to determine your authorization level. If the system you’re logging into uses token gating, you’ll get different levels of access based on the type and number of NFTs you hold. This is the gateway to ultimate access freedom.
Exploring the different web3 login build options
If introducing a web3 login to your project is beginning to sound like a fantastic idea, you can go about it in two different ways. You can build your own web3 login from scratch or you can deploy a pre-built solution like SlashAuth.
Roll your own web3 login
If you’re a great dev — or you have a great dev team — you can technically build your own solution. Before you get started though, there are two things you should keep in mind: the cost of setup and the cost of maintenance.
1. The cost of setup
Building your web3 auth stack takes between eight and eleven weeks. Let’s break it down:
- Build the front & back end of your login. The first thing you need to do is code the login so that the user can sign in with their wallet and have the seamless experience we talked about. This should take the right dev about a week.
- Set up multiple wallet support. Make life easy for users and add support for at least Metamask, Wallet Connect, Coinbase Wallet, and the Brave Browser. This should take about 1 to 2 weeks.
- Make everything mobile-friendly. Your user experience needs to be great on any device — translating everything from desktop to mobile should take 2-3 weeks.
- Set up token gating & define user roles. After your web3 login is ready, you need to set the right access rules. Your system needs to know exactly what type of token and how many tokens a user needs to have to access specific systems. It should also differentiate between general users and admins so that everyone ends up where they’re supposed to. This can take between 4 and 6 weeks to code.
2. The cost of maintenance
After your setup is done, you need to maintain your web3 login stack. This is where the real challenge lies. Your system needs to be monitored so that it’s always up, always compliant, and always safe and secure. You’ll need a developer to spend about half of their time every year running maintenance.
It’s undeniable: creating and maintaining your own web3 login takes a major upfront investment and needs continuous monitoring. While you get the freedom to make the setup your own, you’re paying a lot for the privilege. To top it off, you’re pulling developers away from other key projects that can drive your business or community forward.
So what’s the alternative?
Build your web3 login with SlashAuth
Instead of building a web3 login from scratch and spending a significant chunk of your engineering resources maintaining it, you can set it all up with SlashAuth in less than 15 minutes. This decreases the upfront cost and completely removes the maintenance needs — SlashAuth keeps everything up to date and stays ahead of compliance requirements.
If you roll your own, you’ll need to build this:
With SlashAuth, your implementation is as simple as this:

In other words, SlashAuth takes the pressure off your dev team and helps you create a seamless user experience in minutes.
A simple web3 login example
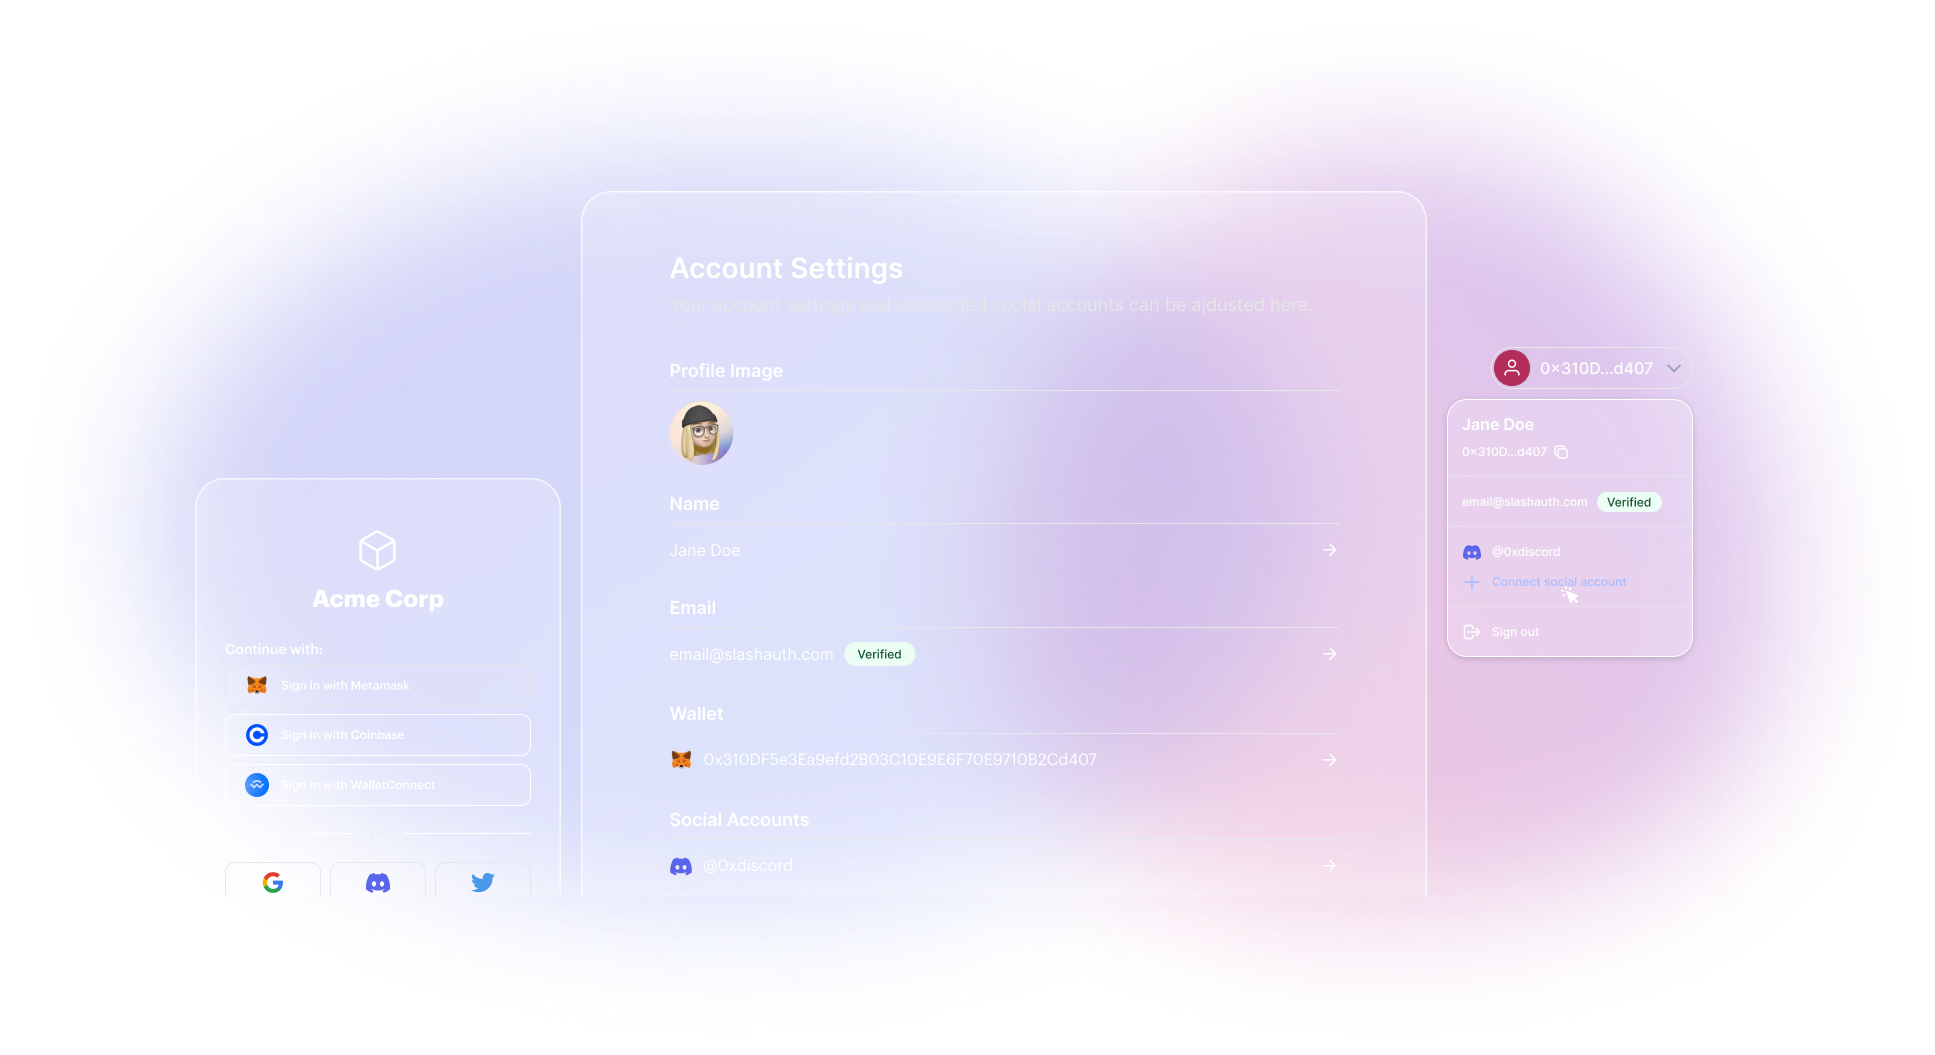
It’s one thing to tell you that building your web3 login is easier with SlashAuth — it’s another thing to show you how it really works. That’s why I’m about to walk you through the entire process — code and all. Because once you know exactly how simple it is, you’ll be ready to swap out the clunkier web2 experience for these streamlined login screens.
How to build a web3 login in 15 minutes
If you follow these steps, you can be up and running in under 15 minutes — not that we’re counting! Ready?
Step #1: Configure SlashAuth
Log into SlashAuth using your Metamask wallet and verify your signature. Then, click on the ‘New App’ button to create an application. After you fill in all the necessary data, grab the generated client ID — you’ll need it in step #3.

Step #2: Install the SlashAuth React SDK
Once you’ve created your new app, install the javascript library via NPM:
npm i @slashauth/slashauth-react wagmi ethers
Keep in mind that, to integrate SlashAuth with your React application via React Hooks, the SDK exposes hooks and variables. This allows you to use wagmi if you wish.
Step #3: Configure the SlashAuthProvider
To integrate SlashAuth into your app, add your clientID — the one you generated when you set up the new app in step #1 — to the SlashAuthProvider.
4. Let users log into your application via wallet
We’ve reached the final leg — adding the actual login. The easiest way to add wallet authentication is to allow users to log in directly through their browsers. To do this, use the function openSignIn()from the useSlashAuth() hook.
Next, you need to show authentication information and create a status component. Quick note though: this data propagates via React Context so components will be notified and re-render every time it changes.
Then, you need to add the logout button that can log the user out locally and invalidate their tokens remotely at the same time:
Finally, update your app’s entry point to display the following so you can tie the whole login experience together:
And that’s it — with just four steps, and a few minutes, you can build a secure, user-friendly web3 login.
Taking the leap, the smart way
If you’re building anything in web3, then you need a web3 login. Doing it from scratch may sound cool, but it exposes you to high up-front costs and constant maintenance. (And that’s without anything going wrong!) Using a solution like SlashAuth though, lets you play on easy mode for a bit. You can get set up in less than 15 minutes and save yourself from constant maintenance and the fear of things going wrong. So — ready to try it out?
